Step-by-Step Block Sewing
Before you start stitching, read through the included instructions first or refer to this page. If you’re not sure how to read the printed pattern included with your kit, please see the “How To Read the Pattern” page. If you have never cross stitched before, see these instructions and videos.
To recap the most important points:
1) Stitch with 3 strands of thread (split each 6-thread piece into two parts)
2) Use only blue and red threads
3) Stay in the lines (red inside red, blue inside blue)
4) Include the date within the blue section
If you need to practice a few stitches before getting started, feel free to do so on the borders of the provided fabric, outside the outline (at least 10 stitches outside).
The fabric I’m using for this project is quite stiff, and doesn’t really need a hoop to facilitate even stitching. However, if you’re used to using a hoop, feel free. If you’ve never used an embroider hoop or frame before, I prefer the “Q-Snap” plastic tube kind, as they are gentler on the fabric and don’t distort the weave or stretch it as much.

I recommend starting your stitching with the outline. I like to work the red section first because it’s smaller.
Your outline is likely not a perfect square, so pay careful attention to the pattern in the places where there are “jogs” from one line to another. I usually start with that line first to make sure my stitches are accurate.
I usually make half stitches all down one side, then come back and finish the “x.”
Then complete the other sides of the red outline.

Red outline complete.
With the blue thread, I do the same thing, starting with the line with a “jog.”
Complete that side all the way down with half stitches, then back to complete each “x.”

Then you can complete the other sides…

…until your outline is done.
If you find that holding the fabric while stitching becomes cumbersome, you can roll it up like so:
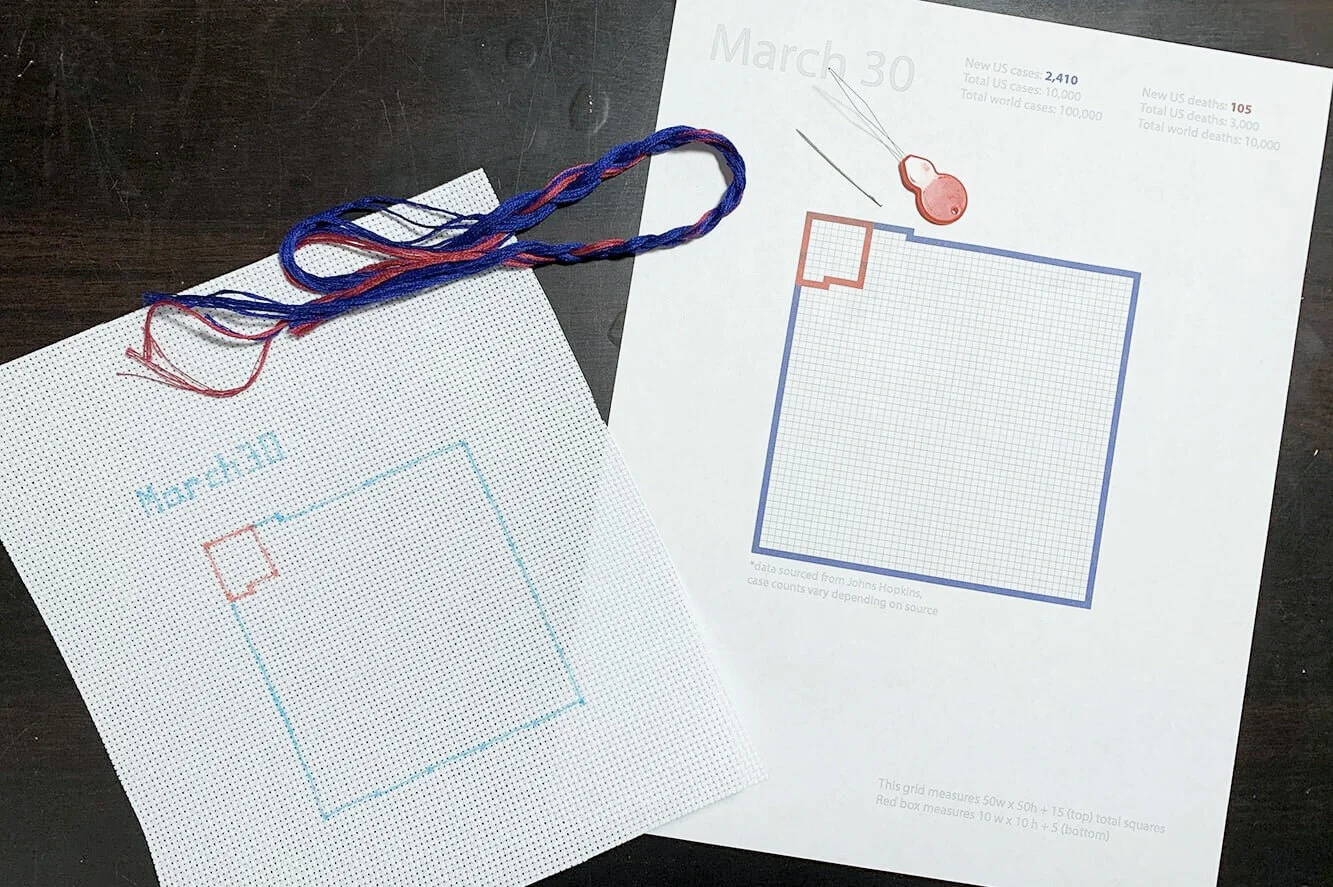
Now you start filling in the outline. Plot out where you want to include the date, then mark it on your fabric with a WATER SOLUBLE FABRIC marking pen.
DO NOT STITCH THE DATE ALREADY MARKED ON YOUR FABRIC. It’s there so the layouts don’t get mixed up before shipping, not for stitching.
Stitch where you have marked the fabric with your choice of blue thread.

You can fill in the rest of the stitches however you like.

Here, I’ve included the case count for that day.
This is an example, not the actual count for March 30.
You can create a freehand pattern, or sketch something out first. Do what feels right to you. There are some links to free, online design software in the “Resources” page.

Here I’ve stitched a little coronavirus image.
This was inspired by an Etsy pattern artist, Aliton Embroidery.

I filled the stitches around the text and image with lighter thread.

Here the finished block is completely filled in with stitches.
Remember, each stitch represents a person, so please make sure they are all filled in.
You can create a pattern that has 40 different shades of blue if you want, replicate a photograph, or do something simple like a solid block of one color, or stripes, squares, etc. Again, do what you can. You could have your kids draw with the water soluble fabric marker, then make stitches over what they drew. Stitch a line from your favorite poem.
It’s up to you.